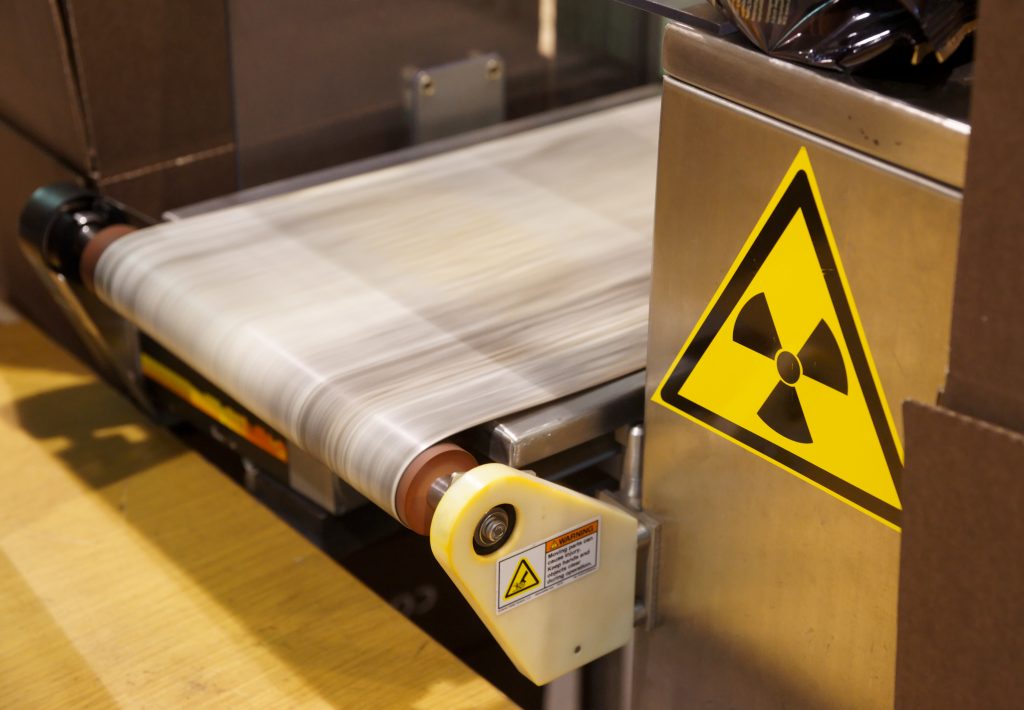
X-ray is a testing method in the industrial segment of the business. The benefit of using it provides a view of the internal composition of solid materials – not visible to the naked eye. The tests are looking for hidden defects or inconsistencies of the materials used to form the product. The inconsistencies happen with new designs, a change in materials or new production processes. Finding inconsistencies is important because they affect the performance of the product. The consequences of poorly made products result in shorter life cycles, low-performance ratios, failure to meet the industrial standard and quality requirements.
The inspection regulations guiding this practice view the product using imagery. A trained and qualified inspector or a certified third-party assessor performs our in-house evaluations, documenting the findings on the test pieces. The client buying the products may specify the reports as part of the shipping documents. Some industries operate on an acceptable quality level (AQL). The AQL specifies the number of tests per product batch with an allowed percentage of failure to meet the standards. Reaching the maximum failures causes a batch rejection.
Today as a leader in electronic manufacturing, we use x-ray inspection equipment. The process offers high resolution for failure analysis throughout the production stages. Our customer is our focus ensuring our product is reliable with the highest performance once it leaves our facility. The benefits of x-ray tests for electronics leverages nondestructive testing (NDT) technology to assess operating and industry defects.
Discovery of Subsurface Defects
There are more than a dozen methods of NDT. Each method uses a specific analysis and material composition. NDT evaluates raw materials, components or assemblies. The inspector is looking for non-conformities or differences in the material characteristics without destroying the serviceability of the part or system. The technology penetrates most materials even with varying thicknesses or multiple layers.
Radiographic testing (RT) is one NDT method using x-ray to assess solid material without damaging the product. Today, electrical and electronic assemblies use an in-house x-ray camera built into equipment.
- Digital radiography allows the inspector to adjust contact and zoom to an area.
- NDT x-ray inspections take place at a laboratory or onsite.
Technology has provided an easy method of documenting the test results, saving them to an e-file. It is an easy method for archiving and transmitting the information to engineering and production for viewing for the purpose of examination and change orders.
Acceptance or Failure Analysis
The tests determine the product’s fitness for service and reliability. Benefits of x-ray testing during inspection provide details to the fabrication process according to the product build specifications. Viewing of the product features or attributes generates approvals or rejections based on findings.
- Internal shrinkage, cracks, weaknesses
- Internal integrity composition
- Weld or soldering qualities
- Corrosion
Callouts for inspections of specific products is an industry norm. Generally, specialized industries have conformance requirements and use NDT inspections to verify the product quality prior to leaving the supplier’s facility. Sometimes the parts go back for rework and repair. There are circumstances for destroying the part due to failures identified in testing. You may lose the part, but you gain significant information on the cause of failure.
- During production
- Post-production
- In-service
- After repair
Benefits of X-Ray Testing During Inspection
Every industry has some form of testing as part of its manufacturing and quality control. The development of smaller components integrating to higher performance processes is driving the need for RT testing. The benefits of testing are twofold; the manufacturer produces higher quality product needing fewer reworks and the customer receives consistent reliability increasing longevity. Capturing a high-resolution image of the overlapping inner structure and welding makes it easier to identify defects and assure reliability.
- Crack and overlays
- Stress measurement
- Material testing
Conclusion
Inspections during production or post-production are cost-effective strategies and part of business risk evaluations. Effective testing provides valuable information to the next generation of design and production processes. Warranties enforce product integrity should a failure occur in the field during service. We inspect every circuit board and surface mount packing used for integrated circuits. Our investment in product integrity is helping customers to stay ahead of their competition and continue to provide quality products.


